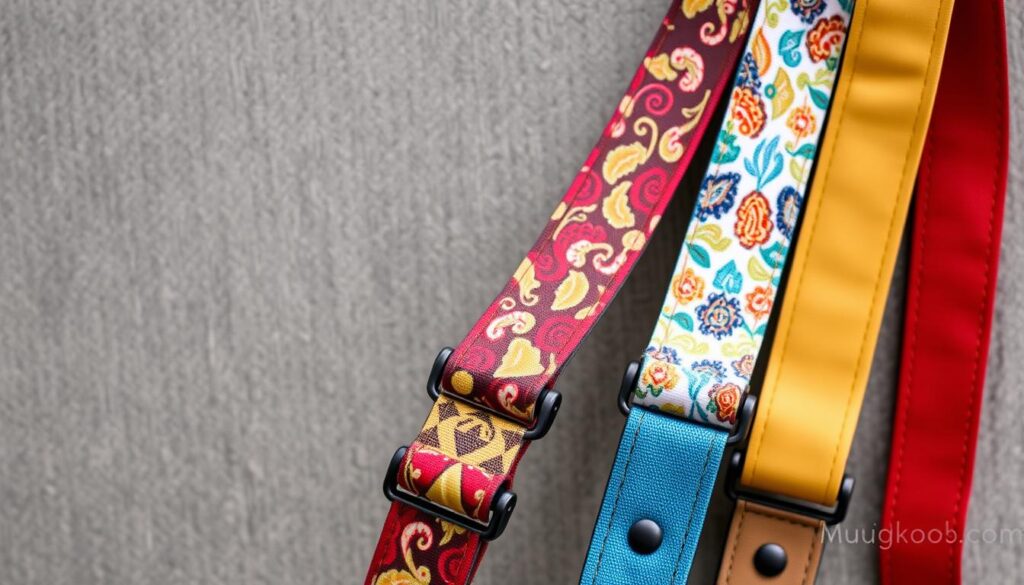
Discover the joy of making your own adjustable bag straps. This guide will show you how to create straps that can change your bags from crossbody to shoulder carry easily. By making your own straps, you can make your handmade bags look more professional and stylish.
Key Takeaways
- Adjustable bag straps offer the flexibility to convert between crossbody, shoulder, and clutch carry styles.
- Creating custom straps allows you to personalize your handmade bags with a professional touch.
- Necessary supplies include rectangular rings, strap slider adjusters, and a long strip of fabric.
- Step-by-step instructions cover cutting, preparing, and attaching the adjustable strap hardware.
- Explore options for adjusting the strap width and length to suit your unique needs and preferences.
The Versatility of Adjustable Bag Straps
Adjustable bag straps change the game, offering unmatched versatility for our daily lives. With a simple twist or snap, we can switch our bags from crossbody to shoulder carry or even a sleek clutch. This flexibility lets us adjust our accessories for any occasion, from work to weekend, and from formal to casual.
Crossbody, Shoulder, or Clutch: One Strap for All Occasions
The charm of adjustable straps is their ability to meet our changing needs. Whether we’re heading to work, exploring a new city, or going to a special event, one strap can easily change carrying styles. This makes our wardrobe more streamlined and keeps our bags stylish for different settings.
A Professional Touch for Handmade Bags
For the crafty folks, adjustable straps add a professional look to our handmade bags. By making our own custom straps, we can improve the look and use of our totes, satchels, and clutches. With options like sleek leather to bold chainlinks, we can turn our DIY bags into fashion statements.
Adjustable bag straps are a real game-changer, giving us the power to get the most from our favorite accessories. They let us change how we carry our bags and make our handmade items look even better. These simple straps can change how we see our everyday bags.
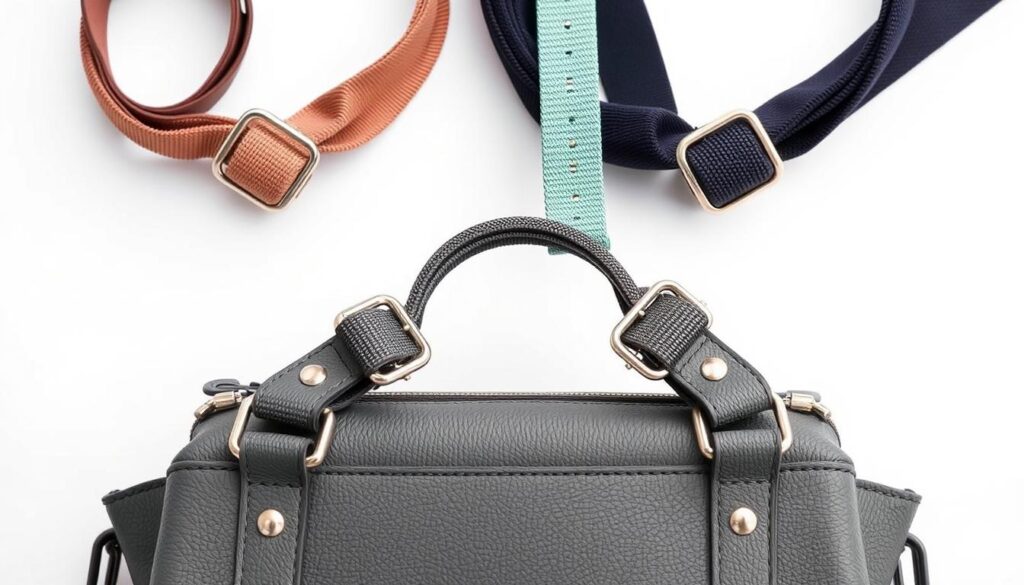
“Adjustable straps offer versatility in carrying options, accommodating various styles such as crossbody, shoulder, or backpack.”
Supplies Needed for Adjustable Straps
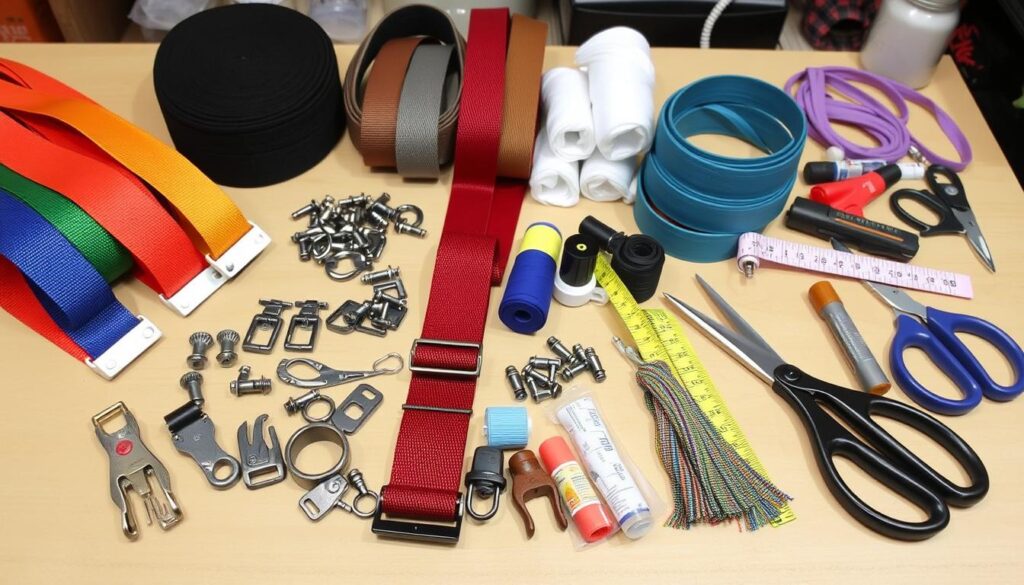
Making your own adjustable bag straps is a fun DIY project. It lets you add a personal touch to your accessories. You’ll need fabric, interfacing, slider buckles, and swivel hooks to start. The size of your hardware will depend on the strap width you want.
For a 1/2-inch wide strap, you need a 2-inch fabric strip. Add a 1/2-inch slider buckle and two 1/2-inch swivel hooks. A 3/4-inch wide strap requires a 3-inch fabric strip, a 3/4-inch slider buckle, and two 3/4-inch swivel hooks. For a 1-inch wide strap, use a 4-inch fabric strip, a 1-inch slider buckle, and two 1-inch swivel hooks.
You’ll also need fusible woven interfacing for support. Make sure your fabric strip is at least 53 inches long. But 57 inches is better for a comfortable fit.
| Strap Width | Fabric Strip Width | Slider Buckle Size | Swivel Hook Size |
|---|---|---|---|
| 1/2 inch | 2 inches | 1/2 inch | 1/2 inch |
| 3/4 inch | 3 inches | 3/4 inch | 3/4 inch |
| 1 inch | 4 inches | 1 inch | 1 inch |
With these supplies for DIY adjustable bag straps and hardware and materials for custom strap making, you’re ready to make a unique accessory. It will match your personal style perfectly.
how to make your own adjustable straps
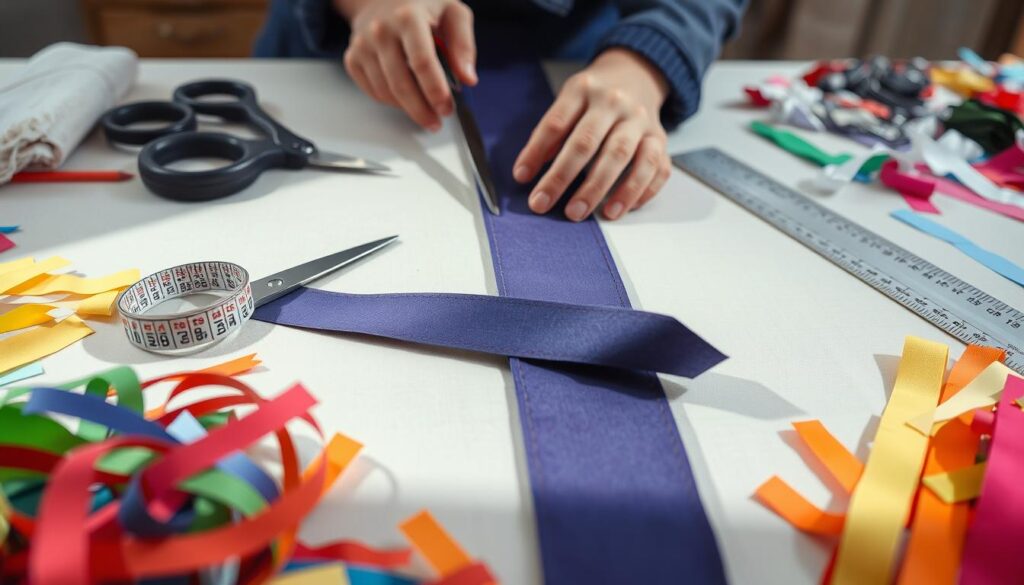
Making your own adjustable straps starts with cutting and preparing the fabric. We’ll guide you through each step to get a professional look. This guide is for DIY adjustable bag straps.
First, think about the strap width. The tutorial covers 1/2″, 3/4″, and 1″ widths. Cut fabric strips four times wider than your desired width. This extra width helps in folding and seaming for a sturdy strap.
For a cross-body bag, aim for a strap length of 50-55 inches. Remember to add extra for overlap or adjustability when adding hardware.
To add stability, apply interfacing or fusible fleece to the fabric. This keeps the straps’ shape and structure, ensuring a durable finish.
After cutting and interfacing, topstitch along both edges of the strap. This adds a polished look and reinforces the strap’s construction.
With these steps, you’re on your way to making your own adjustable bag straps. Follow the guide and keep the key keywords in mind as you work.
Attaching the Hardware
Now that your fabric strap is ready, it’s time to add the hardware. This step turns your strap into a flexible accessory for your bag. We’ll look at how to attach the slider buckle and swivel hooks for a smooth adjustment.
Slider Buckles and Swivel Hooks
Slider buckles and swivel hooks make your strap adjustable. They let you change the strap’s length easily. This means you can use it as a crossbody, shoulder, or clutch bag.
You’ll need specific hardware for your strap’s width. For a 1/2″ finished width adjustable strap, you need (2) 1″ wide by 25″ long pieces. Also, (1) 1/2″ inner width slider buckle and (2) 1/2″ inner width swivel hooks. Adjust these for 3/4″, 1″, or 1-1/2″ widths.
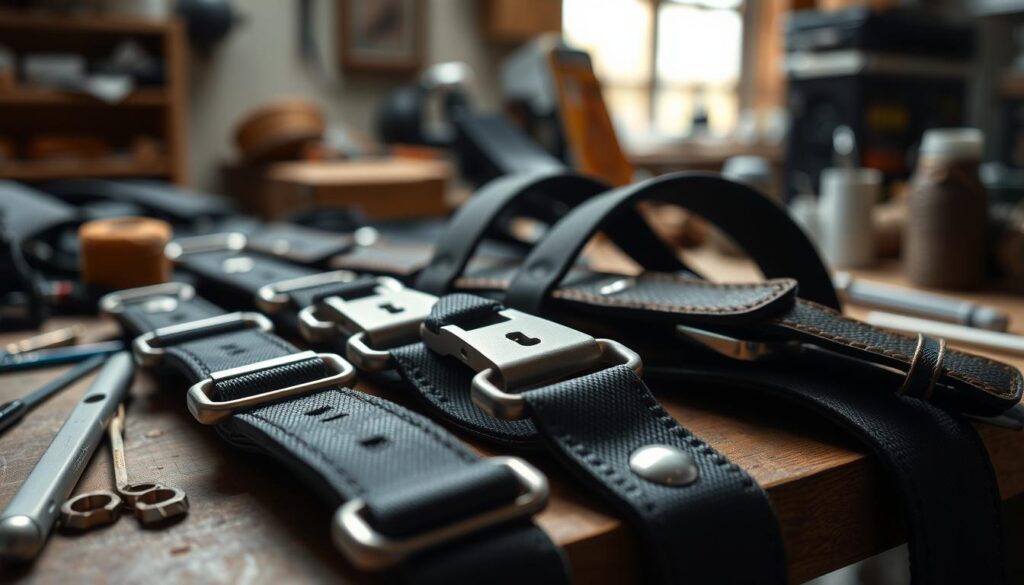
With all the parts, attaching the hardware is easy. Start by threading one strap end through the slider buckle. Make sure it fits well. Then, attach the swivel hooks to the other ends. This lets you easily adjust the strap to your bag.
Don’t forget to reinforce the stitching where you attach the hardware. This makes sure your strap can handle daily use and the weight of your bag. With some care, you’ll have a custom strap that makes your bag look and work better.
Making a Detachable Adjustable Strap
Crafting your own adjustable bag straps opens up a world of versatility. We’ll explore making a detachable adjustable strap. This feature lets you easily switch your bag from a tote to a chic clutch or handheld style.
To start, you’ll learn how to attach the lobster clasps. These clasps are key for the detachable function. After attaching them, you’ll add this feature to your strap design. This ensures a smooth and stylish change from tote to clutch.
The success of a detachable strap depends on the details. You’ll learn to measure and cut the fabric accurately. You’ll also fuse the right interfacing and do topstitching perfectly. These skills will help you transform bags into clutches with removable straps. You’ll unlock a world of creating detachable adjustable bag straps for any occasion.
Whether you’re making a chic tote for work or a versatile bag for a night out, creating detachable straps will take your designs to new levels. Get ready to experience the power of transformable design and unlock the full potential of your handmade bags.
Adjusting Strap Width and Length
We’ll show you how to adjust the width and length of your straps for a perfect fit. This way, you can make straps that match your bags perfectly.
For the strap width, you have a few options:
- 1/2″ width using 1″ wide material
- 3/4″ width using 1-1/2″ wide material
- 1″ width using 2″ wide material
- 1-1/2″ width using 3″ wide material
The straps are all 25″ long. This length works well for different widths.
| Strap Width | Slider Buckle Inner Width | Swivel Hooks per Strap |
|---|---|---|
| 1/2″ | 1/2″ | 2 |
| 3/4″ | 3/4″ | 2 |
| 1″ | 1″ | 2 |
| 1-1/2″ | 1-1/2″ | 2 |
For a strong strap, use a 2.5 mm stitch length. Topstitch 1/8″ from each seam for a clean look. You can fold the strap in half or fold each side to the center to hide raw edges.
To secure the strap ends, stitch 1/4″ from the raw edge. Or, make a box with an “X” in the center for extra strength. This keeps your straps lasting longer.
Adjusting the width and length of your straps makes your bags look professional. Whether you’re making a crossbody, shoulder, or clutch strap, these tips will help. You’ll create straps that fit your needs perfectly.
Conclusion
We’ve reached the end of our guide on making adjustable bag straps. We feel proud and accomplished. We’ve seen how making our own straps can change our bags in many ways.
These straps make our bags easy to change and add a professional look to our handmade items. By following simple steps and adjusting the size, we’ve made our bags special. They now match our style and needs perfectly.
Making our own straps has been a creative journey. It’s not just about practicality but also about showing our unique style. Carrying our bags with these custom straps makes us feel proud and grateful for our DIY skills.
FAQ
What are the benefits of using adjustable bag straps?
Adjustable bag straps are super versatile. They let you change your bag from a crossbody to a shoulder bag or even a clutch easily. This makes your bag fit any outfit or event.
Also, making your own adjustable straps can make your handmade bags look more professional. It adds both style and function.
What supplies are needed to make adjustable bag straps?
To make adjustable straps, you need fabric, interfacing, slider buckles, and swivel hooks. The size of the hardware depends on how wide you want your strap to be.
How do I cut and prepare the strap fabric?
First, you cut and prepare the fabric for your straps. We’ll show you how to measure and cut it right. Plus, how to add interfacing for strength and a pro look.
How do I attach the hardware to the strap?
After preparing the fabric, you attach the hardware. We’ll guide you on how to add slider buckles and swivel hooks. This makes the strap adjustable and easy to use.
Can I make a detachable adjustable strap?
Yes, you can make a strap that can be detached. This lets you turn your bag into a clutch or a handheld bag easily.
How do I adjust the width and length of the strap?
We’ll show you how to adjust the strap’s width and length for a perfect fit. We’ll give tips on cutting fabric strips in different widths. This way, you can match your strap to your bag and style.