A garment inspection photo report helps buyers understand what an inspector observed and where the evidence came from. Attractive factory photographs or a few close-ups without garment identification cannot explain the inspection scope. For overseas apparel brands and retailers, the useful report connects images with the order, inspected items, findings and follow-up decisions. This guide focuses on photographic evidence, rather than setting an AQL sampling plan or authorizing shipment from images alone.
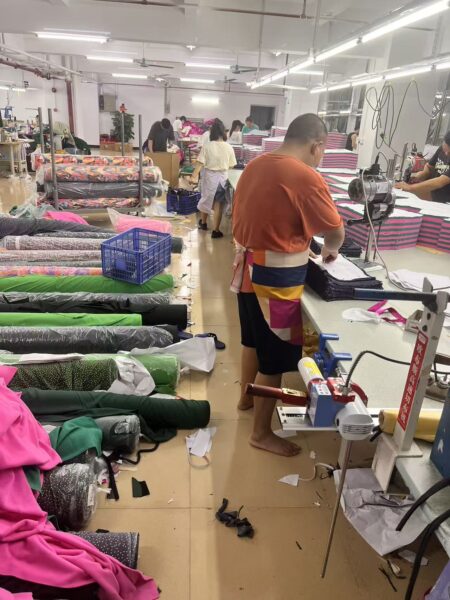
Identify the order and inspection scope
Record the purchase order, style, color, size range, production lot, inspection stage and date. State who performed the inspection and which records describe the selection and quantity inspected. Keep those details in the report header rather than relying on filenames alone.
Connect the images to the garment quality-control checklist. Distinguish a photographed example from the count of occurrences. One photograph of a defect does not establish that only one unit was affected, or that every garment in a shipment was examined.
Pair a locating image with a detail image
For each issue, include enough of the garment to show its location, followed by a clear detail view. Assign the same issue reference to both. Identify the component and side, such as the left cuff or inside front opening, without assuming the buyer can recognize it from a tight crop.
Use lighting and focus that allow the finding to be assessed without changing its appearance. Avoid decorative filters or editing that conceals the condition. If an annotation is added, retain the original image and make the marked location unambiguous.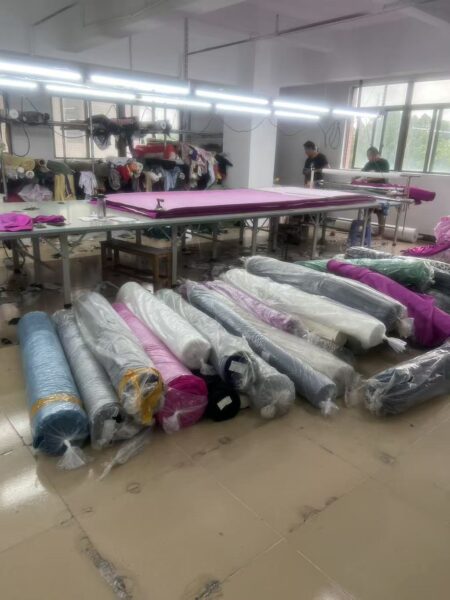
Make measurement photographs reproducible
Identify the measurement point and size, and show the garment arranged according to the agreed method. Include the measuring device and landmarks clearly enough for the reviewer to understand the reading. Explain whether the garment is fastened, relaxed or in another specified state.
Use the garment points of measure guide for those definitions. A close-up of a ruler number without the starting point is incomplete evidence. Keep the numeric result in the measurement table as well as the image so the buying team does not need to infer every value from photographs.
Write findings that match the evidence
Use a concise description stating what was observed, where it appeared and the relevant reference. Record defect classification according to the buyer’s agreed system rather than inventing a category during reporting. Identify whether the issue concerns construction, appearance, function, measurement or packing.
Do not infer a cause from an image alone when it has not been investigated. Separate observation, suspected cause and confirmed corrective action. Link the issue to the accepted sample, drawing or specification used for comparison so the buyer understands the actual difference.
Link corrective action to the original issue
Keep the original finding, proposed correction and follow-up evidence under one reference. Identify which items or lots were corrected and what checks were completed afterward. A photograph of a repaired example should not be presented as proof that the entire affected quantity has been resolved.
Use the garment reinspection guide when a failed inspection requires a wider decision. Record the recheck scope and remaining open points. Keep any shipment authorization separate from the photographic record itself.
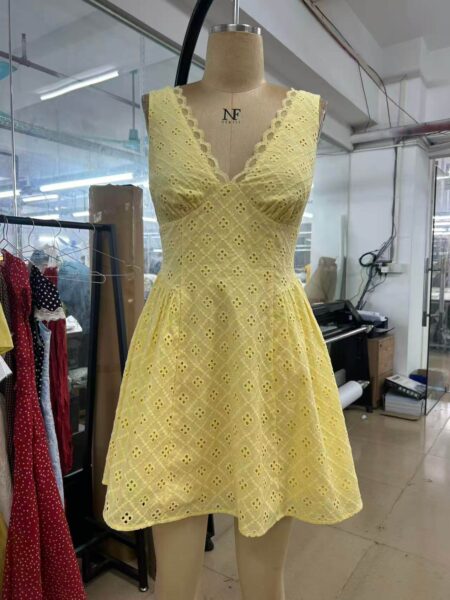
Deliver a usable, controlled report package
Provide an index or findings table with issue references, garment identity, counts as documented, specification references and status. Use filenames that support the index, and retain image quality sufficient to review the finding. Keep the report version and approval history identifiable.
Distinguish these quality records from general progress pictures in the production status report. Progress photographs show activity; an inspection photo report must explain observations within a stated scope. Neither should be used to imply checks that were not performed.
For an order with Mugekoo, agree the required report fields, image types, delivery stage and review responsibilities before inspection. Provide measurement and appearance references early. A structured package helps the buyer ask precise questions and track resolution without confusing selected images with a complete inspection conclusion.