Garment points of measure, often abbreviated as POM, define the dimensions that a buyer and manufacturer check on a sample or finished garment. A label such as “body length” is not sufficiently precise if one team measures from the shoulder and another from the back neckline.
A repeatable measurement guide explains where the tape starts, where it ends and how the garment is arranged. For custom women’s clothing production, this shared method should be settled during development so later sampling and quality-control reports describe the same dimensions.
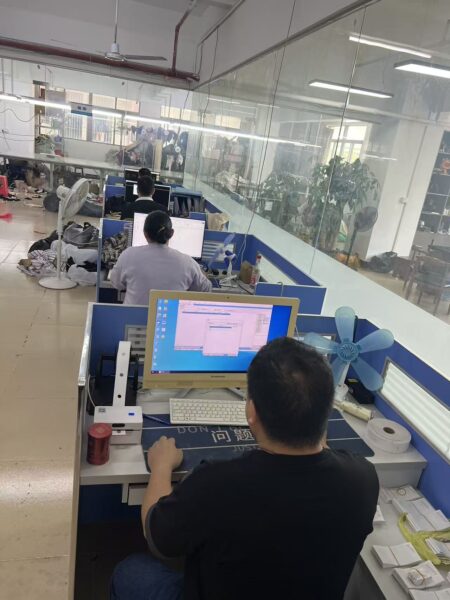
Give each measurement a stable code
Assign an identifier to every required dimension and use it consistently in the diagram, size chart and inspection report. A chest point might have one code while waist, sweep and sleeve length have others. The exact coding system is the buyer’s choice; consistency matters more than a particular naming convention.
Keep codes stable through revisions. If a point changes meaning, clearly identify the revision instead of reusing the old code without explanation. This allows sample comments and historical reports to remain understandable when the pattern or construction changes.
Draw the start and end landmarks
Show arrows on a front, back or detail drawing that accurately represents the garment. Identify seams, edges or other landmarks in writing. For a curved measurement, state whether the tape follows the curve or measures a straight line between points.
For length, distinguish possible origins such as high shoulder point, center-back neck seam or the top of a waistband. For width, identify the measuring level, including any fixed distance below a landmark. A drawing should remove ambiguity, not simply repeat the measurement name beside an unclear arrow.
Define the garment setup
State whether the garment is flat, fastened, relaxed or arranged in another specified condition. Identify how ties, pleats, gathers and adjustable parts should sit. For elastic sections, separate relaxed and extended measurements if both are needed, and specify the agreed procedure for the latter.
A measurement on a dress with its zipper open may differ from the same point when it is closed and aligned. Likewise, pulling a fluid fabric smooth can unintentionally stretch it. Use a consistent working surface and handling instruction, and ask the factory to demonstrate unclear points before the chart is approved.
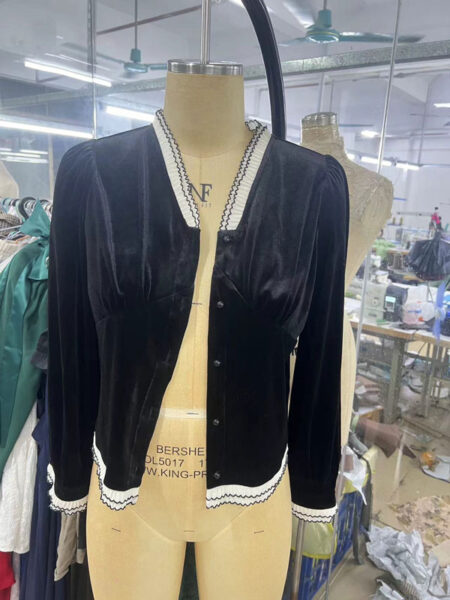
State what the number represents
Specify units and whether the value is a flat width or a full circumference. For illustration, a 46 cm flat chest width and a 92 cm circumference are different descriptions of a dimension; a report must not switch between them without identifying the method. The example is not a target measurement for a particular style.
Keep the method distinct from the target and acceptance limit. The measurement tolerance guide addresses allowable variation; this guide defines how the reading is obtained. Agreeing a tolerance cannot resolve a disagreement about the measuring landmarks.
Use a compact point-of-measure record
| Field | What to record |
|---|---|
| Code and name | One identifier shared by drawing, chart and report |
| Landmarks | Exact start, end and measuring level |
| Setup | Flat, fastened, relaxed or other specified condition |
| Value format | Units, width or circumference, and straight or curved path |
| Revision | Date and approval reference for the current method |
Compare buyer and factory readings on one sample
Before treating a difference as a sewing defect, have both teams measure the same sample using the proposed guide. Exchange photographs showing tape placement and garment setup. This can reveal a method mismatch, such as different sleeve starting points or a tape held along a different curve.
Use the sample feedback process to consolidate unresolved questions. Correct the guide and repeat the comparison before approving the pattern or reporting systematic bulk deviations. The objective is a method that two people can follow independently.
Carry the method across the size range
Use the same defined points in the grading table and selected size-set samples. If a feature changes across sizes, show how its measurement remains identifiable. A new seam or different closure position should not leave the QC team guessing which landmark applies.
Retain the approved method beside the current size specification. The target values can vary by size while the meaning of each point remains stable. When development changes the measurement definition, review whether earlier sample comparisons are still valid.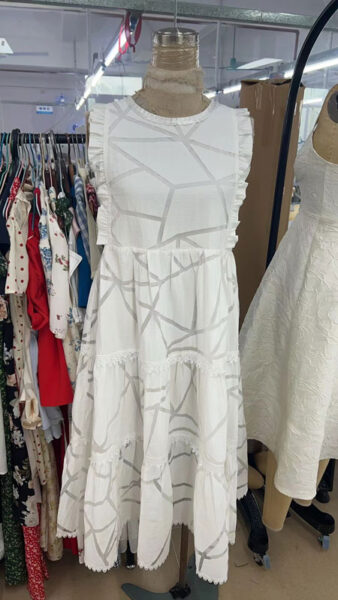
Keep inspection traceable to the current guide
Reports should identify the style, size, garment state and specification revision. During inline inspection, confirm that inspectors use the released diagrams and not a remembered method from a similar garment. Separate a changed method from a changed production result in the record.
To review garment points of measure for a woven dress or women’s wear collection, send your tech pack and purchasing requirements to Mugekoo. Provide the current sketches and size chart so the sample and QC teams can clarify landmarks before bulk production begins.